In concrete flooring construction, enhancing the hardness and wear resistance of the concrete surface is key to ensuring long-term use and reducing maintenance costs. Concrete floor hardeners provide an effective solution, with two commonly used types: dry shake concrete hardener and liquid concrete hardener. Each hardener has distinct usage scenarios, application methods, and performance characteristics.
This article will explain in detail include:
- Dry shake concrete hardener application
- Liquid concrete hardener application
Let’s get started!

Dry Shake Concrete Hardener Application
We have introduced it in previous articles, dry shake concrete hardener is a powdered material spread on freshly poured concrete. It usually consists of cement, sand, and hardening components such as quartz or metallic aggregate. The dry shake hardener forms a strong and long-lasting layer on the concrete surface, making it ideal for areas that need to stand up to wear and tear, like industrial concrete floors in warehouses and factories. You can also use the dry shake hardener with inorganic pigments to create different colors, which makes it a concrete color hardener. This makes it a great choice for public buildings and private residences.
When to Apply
Before applying the dry-shake concrete hardener, use a laser screed or other concrete screed machines to initially screed the concrete surface to ensure that there are no uneven areas. Use the concrete bull float before bleeding starts to spread the surface cream evenly.
The best time to use Dry Shake Concrete Hardener is when the fresh concrete has started to set, but the surface is still moist. As a rule of thumb, you’ll want to apply the product when the water on the surface of the concrete has just evaporated, giving you a certain amount of flexibility to work with the surface. Experience shows that the timing of troweling is generally the same as that of applying Dry Shake concrete hardener.
Once the bleed water has disappeared, you can think about the specific timing and criteria. Once you’ve poured the concrete, you’ll see a layer of water on the surface (this is called bleed water). Once the water has fully evaporated, leaving the surface moist but no longer flowing, it’s ready to apply the hardener.
Surface bearing capacity
The concrete needs to be hard enough to support the weight of the trowelling tool (like a power float) to avoid uneven or damaged surfaces.
How to Apply
If you’re spreading it manually, it’s best to angle the spreader down a bit to ensure the hardener is evenly distributed. Just ensure you don’t spread it more than 10-12 feet (3-4 meters) to keep it all nice and even.
As a rule of thumb, you should spread the dry shake concrete hardener in one go, depending on how much you need for the project. Some construction standards(Example: Standard ACI 302) say you should spread about 2/3 of the hardener before you start floating the concrete and the remaining 1/3 before you do the final finishing touches.
Once you’ve done all that, you can move on to finishing the concrete surface.
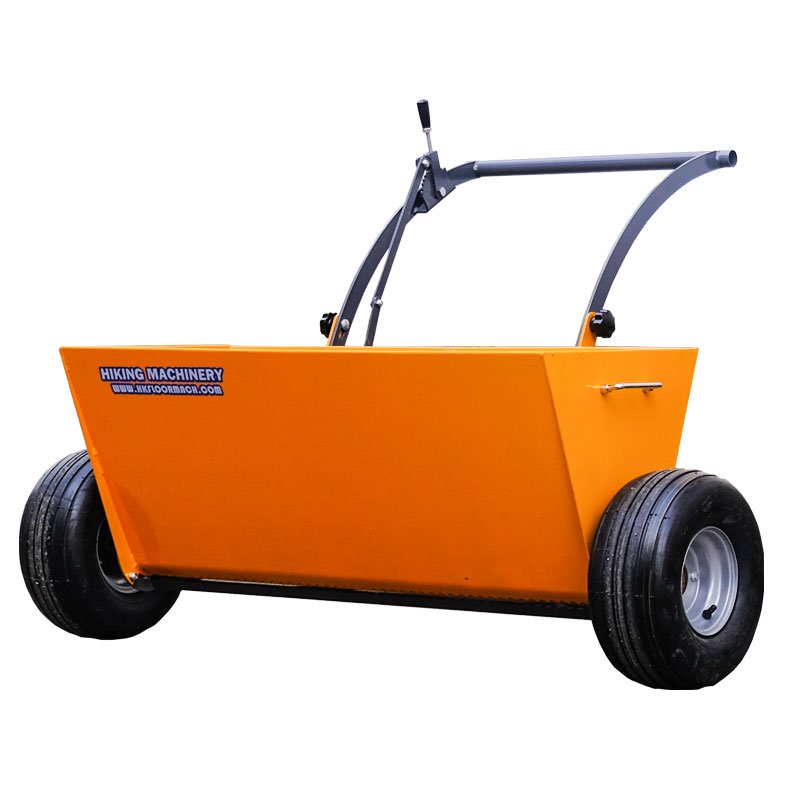
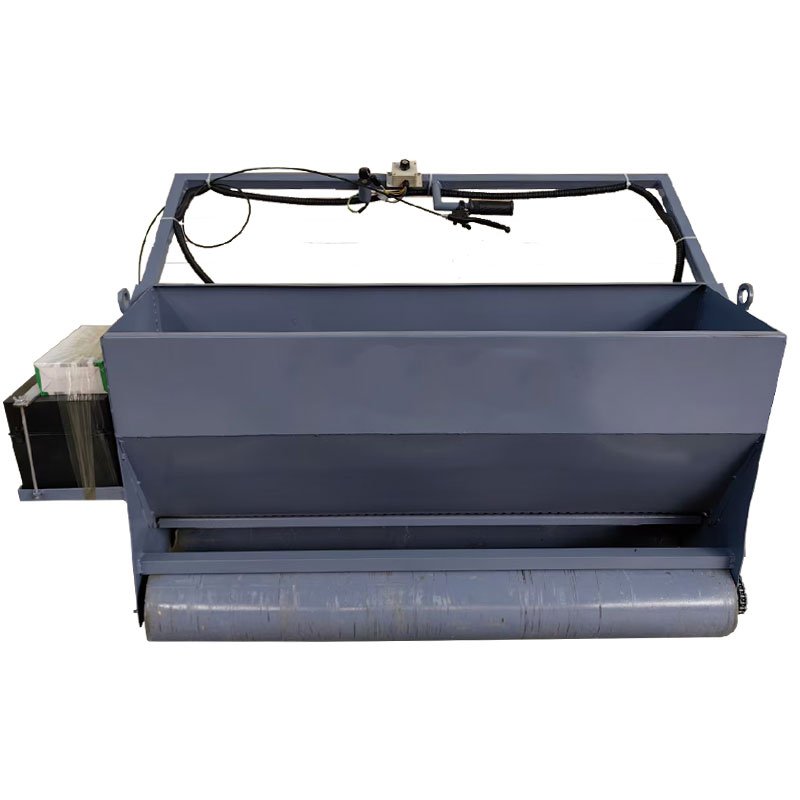
2 New Topping Spreader Machines Make Application Easier
As mentioned above, the spreading height must be strictly controlled when manually applying a concrete hardener. Additionally, it is almost impossible to ensure even spreading when done manually. Traditional topping spreader machines are either expensive and inflexible boom-topping screed machines or manual material spreaders (their pros and cons are detailed in another article).
To address these issues, Hiking has developed 2 new and easy-to-use automatic machines while also providing a more affordable manual material spreader.

Liquid Concrete Hardener Application
Liquid Concrete Hardener makes concrete stronger, more resistant to wear, and waterproof. It contains ingredients like sodium silicate or lithium silicate, which react with the calcium in concrete to form a gel that fills small gaps. This makes the concrete harder and denser, reducing the risk of dust and making it more resistant to wear, water and chemicals.
Liquid hardeners are used for concrete floors that need to be strong and long-lasting. They are easier to use than traditional hardeners and can be used to renovate old concrete floors.

Preparation
Before you use a liquid concrete hardener, there are a few things you’ll need to do to make sure it works well.
Make sure you clean the surface. It’s important to make sure the concrete surface is free from dust, dirt, oil and other impurities. Use a high-pressure washer, floor scrubber or industrial vacuum to make sure the surface is clean and free from contaminants.
If there are any surface defects, it’s time to get them fixed. It’s important to make sure there are no cracks, holes or other damage to the concrete surface. If there are any defects, repair them so the hardener can get into the concrete evenly.
It’s also worth checking the moisture levels. It’s important to make sure the surface isn’t visibly wet, but still a little damp so the hardener can penetrate more effectively. If the surface is too dry, just give it a quick spray with a little water to moisten it, but don’t make it too wet.
Keep an eye on the temperature and humidity while you’re working. It’s best to stick to a stable temperature and moderate humidity. It’s best to avoid extreme weather when operating to ensure the hardener reacts effectively.
When to apply
You can use a liquid concrete hardener whenever you want. As a rule of thumb, you can apply liquid concrete hardeners about seven days after the concrete has hardened. This gives the concrete time to gain some strength, which means the hardener can get into the mix and react with the other ingredients. If you can wait 28 days, it’s best to do the treatment then, as the concrete will be stronger and more dense by then.
How to apply
A low-pressure sprayer with a fan-shaped nozzle is used to apply the liquid concrete hardener to the concrete floor. Here’s what you need to do:
- First you need to spray the liquid concrete hardener material. Use a low-pressure sprayer with a fan-shaped nozzle to evenly spray the liquid concrete hardener onto the cleaned concrete surface. Ensure you keep the right distance and angle during spraying to cover everything.
- Make sure it stays moist. Once you’ve sprayed it, keep the surface moist for about 20 to 30 minutes to ensure the hardener penetrates fully. If the surface dries too quickly, spray a light mist of water to help it soak in.
- As a rule of thumb, you’ll want to use about 0.2-0.3 liters of hardener per square meter (specific usage varies by product, so check the instructions for the concrete hardener). You’ll need to adjust the amount according to how the concrete absorbs and the surface condition to ensure it penetrates best.
- Drying and chemical reaction, let the hardener dry and react with the concrete. This usually takes about 24h to harden fully.
This method ensuresensures that the hardener goes into the concrete evenly so that it hardens properly.
Conclusion
In this article, we’ve reviewed how to use two types of concrete hardeners (liquid and dry shake), including the best timing and equipment. If you choose and operate correctly, you’ll get the best results!
If you have any other questions or want to share experience, please feel free to get in touch!